Search This Blog

Monday 30 January 2017

Tea Room 1

Projects don't necessarily need to be carbon copies, they can take on a life of their own. 
Continuing on, using the Miniature Worlds book as inspiration.


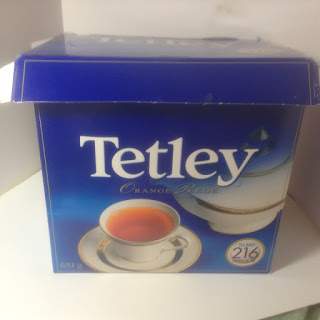
The tea room started out with a Tetley Tea box. 


However, once the wallpaper was installed, and the opening framed, it was obvious the scale was all wrong for the contents. Rats! A great idea, and the wallpaper was perfect, too! And of course, there wasn't any more.
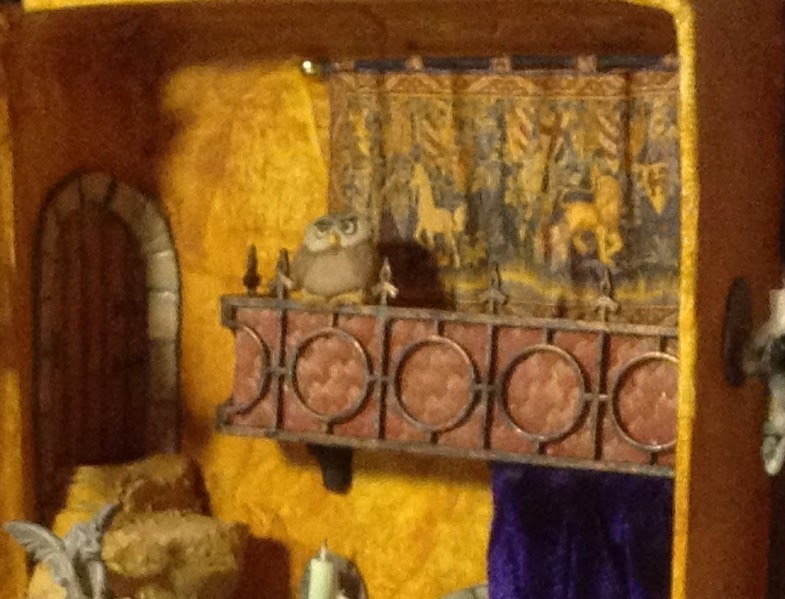

This is how the box looked once framed.
Very cramped and difficult to see interior.

Sunday 22 January 2017

Smaller Scale roomboxes

Both Cindy and I had this little bedroom set.


If I hadn't seen Cindy's bureau, I wouldn't have noticed the lamp was missing.


So here is mine. Lamp restored.


Wizard's Room, The Finale

All the bits and pieces have been made. Arthur's sword added the the back.

The book title and marvellous cover illustration by Arthur Rackham, printed and applied.

And Tadaaaa! The finished project! Pretty pleased with ourselves.

Wizards Room, Curtains and Balcony

Continuing on....
The balcony can be seen in this picture. Cindy had some leftover railing in her stash and it was just enough. Paper card formed the floor and wood strips were glued to the parts of the balcony which would touch the wall.
The balcony was too bare, so to the stash we go again, and this paper collar for coffee was retrieved. 
Doesn"t look much, does it? Dry brush with crimson and tan....add an owl.....

Cindy found the perfect fabric for the curtain, which was gathered and glued the wood strip supporting the card floor. 


The tapestry was downloaded from the internet and dampened slightly to shape it to resemble a curtain.


January - Wizards Room Bits and bobs

Now the fun begins. Cindy made some of the interior items, like the wizard's chair.
The little owl is a perfect addition to the book and lectern, Can you see it is a button? 

Arthur's sword was embellished with a bit of greenery and painted. 
 Cindy had this wee mouse, Pandora's box, and the stone table in her stash. The base was a gold cap from some perfume, and was painted to mimic the stone top.

The crystal ball was from Linda's stash, the plinth made from corrugated cardboard and paper strips with bits of Playdough added to support the ball. The whole thing was painted black with gold accents.


See the tutorial for these wall sconces in the Littleroomers blog


Wednesday 18 January 2017

September, the Wizard's Room, Back of the Book


Paper torn and applied to the inside of the book. Window, tunnel and door placed for size and location.

Walls painted. Stairs glued in place. Window made from picture out from a travel brochure, glued to a sheet of clear plastic. The glazing is masking tape, painted black and cut into thin strips and applied to the clear plastic. The stone surround is from egg carton cut to shape, same with the door and tunnel. Cindy had some wonderful fabric which looks like leather. Here it is being glued. First cut  a strip of card the width of the book's lip. 


Glue the strip beside the lip. Trim the fabric over and glue to the card. Mitre the corners.
.


Fold over again and glue to the lip.


August meeting, starting the Wizard's Room, Stairs and Walls

August meeting
The dog days of summer and everyone is busy. No replies to the meeting reminder, so Cindy and I decided to have our regular meeting.
We are working on the Wizard's Spell Book from Miniature Worlds.

So here we are so far. The book has been lined with the spell paper.

The stairs have been roughed in.